
Article: 5 Easy Nail Art Trends for Beginners: Create Salon-Quality Nails at Home with Ambedo Beauty (2025 Edition)
5 Easy Nail Art Trends for Beginners: Create Salon-Quality Nails at Home with Ambedo Beauty (2025 Edition)
Easy Nail Art Trends for Beginners: Simple Looks You Can Achieve with Ambedo Beauty
If you’re new to nail art, you might be surprised at how achievable stylish designs can be—even without professional experience. With the right tools and a bit of guidance, you’ll be creating Instagram-worthy manicures from the comfort of your own home. Below are five easy nail art looks that are perfect for beginners, along with step-by-step instructions. Best of all, you can find the essential products to master these techniques at ambedobeauty.com.
1. Polka Dot Delight
Why It’s Easy
Polka dots are a quick, foolproof way to give your nails personality. All you need is a base colour and a dotting tool.
What You’ll Need
- Base Coat
- Base nail polish colour
- Contrasting nail polish colour for dots
- Dotting tool (or toothpick/bobby pin)
- Top coat
How to Do It
-
Prep & Paint
- Clean, file, and shape your nails.
- Apply a base coat to protect your natural nails, then paint on your chosen base colour.
-
Dot, Dot, Dot
- Dab a drop of the contrasting polish onto a palette or foil.
- Dip the tip of your dotting tool and press gentle dots onto your nail.
- Vary the spacing for a fun pattern, or line them up for a more structured look.
-
Seal & Shine
- Finish with a top coat to seal in your design

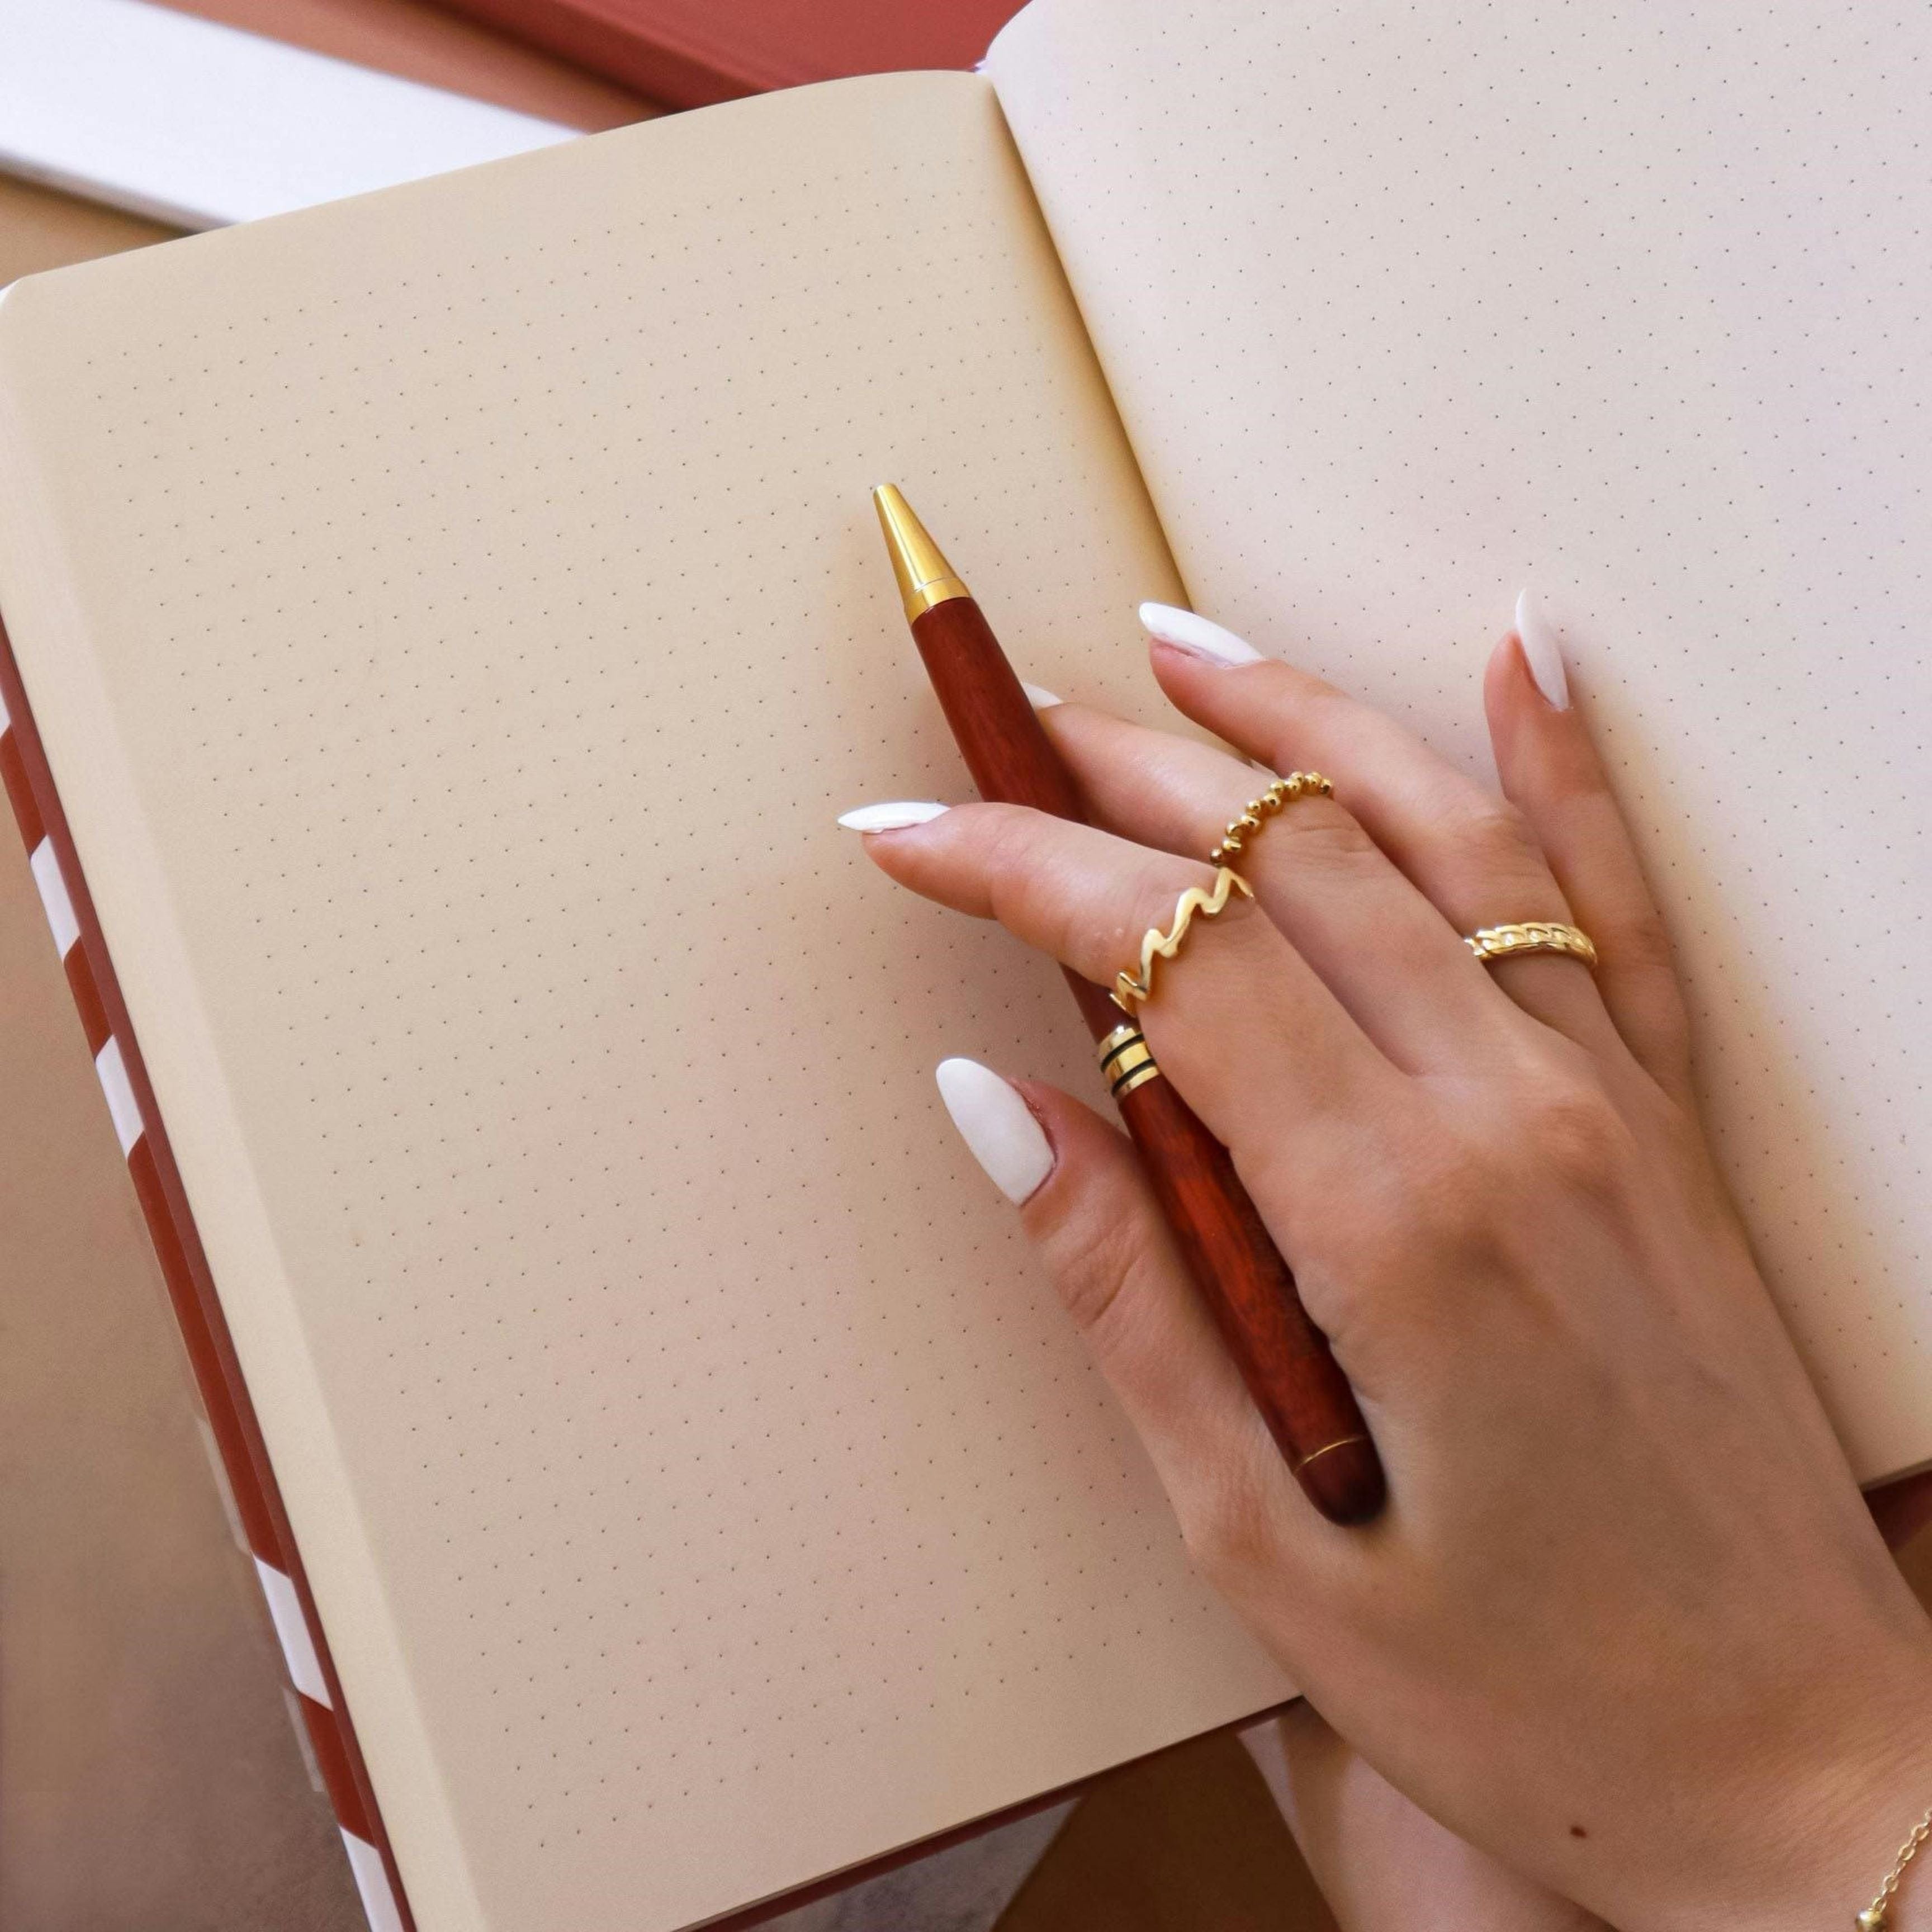
2. Accent Nail Pop
Why It’s Easy
An accent nail is a simple way to experiment with nail art. By focusing on just one or two nails, you get to dip your toes in creativity without fully committing to a complex design on every finger.
What You’ll Need
- Base coat
- Base gel nail polish colour
- Accent gel nail polish (glitter, metallic, or neon)
- Top coat
How to Do It
-
Base Layer
- After filing and shaping, apply a protective base coat.
- Paint all nails with your main colour (e.g., nude, pastel, or a classic red)
-
Accent Nail
- Choose one or two nails (typically ring or middle finger) and apply your accent colour in 1–2 coats.
-
Top It Off
- Apply a final layer of top coat for a glossy finish.

3. Easy Stripes
Why It’s Easy
Stripes look professional but are surprisingly simple to achieve. You can go for vertical, horizontal, or diagonal lines, depending on your preference.
What You’ll Need
- Base coat
- Base gel nail polish colour
- Contrasting gel polish for stripes
- Striping tape or thin nail brush
- Top coat
How to Do It
-
Apply Your Base
- Paint nails with your base colour
-
Line It Up
- Striping Tape Method: Place tape on your nails in your desired pattern. Paint over with the second colour, then carefully remove the tape while the polish is still wet.
- Freehand Method: Use a thin brush dipped in the second colour to paint straight lines.
-
Lock in the Look
- Finish with a clear top coat
- Finish with a clear top coat

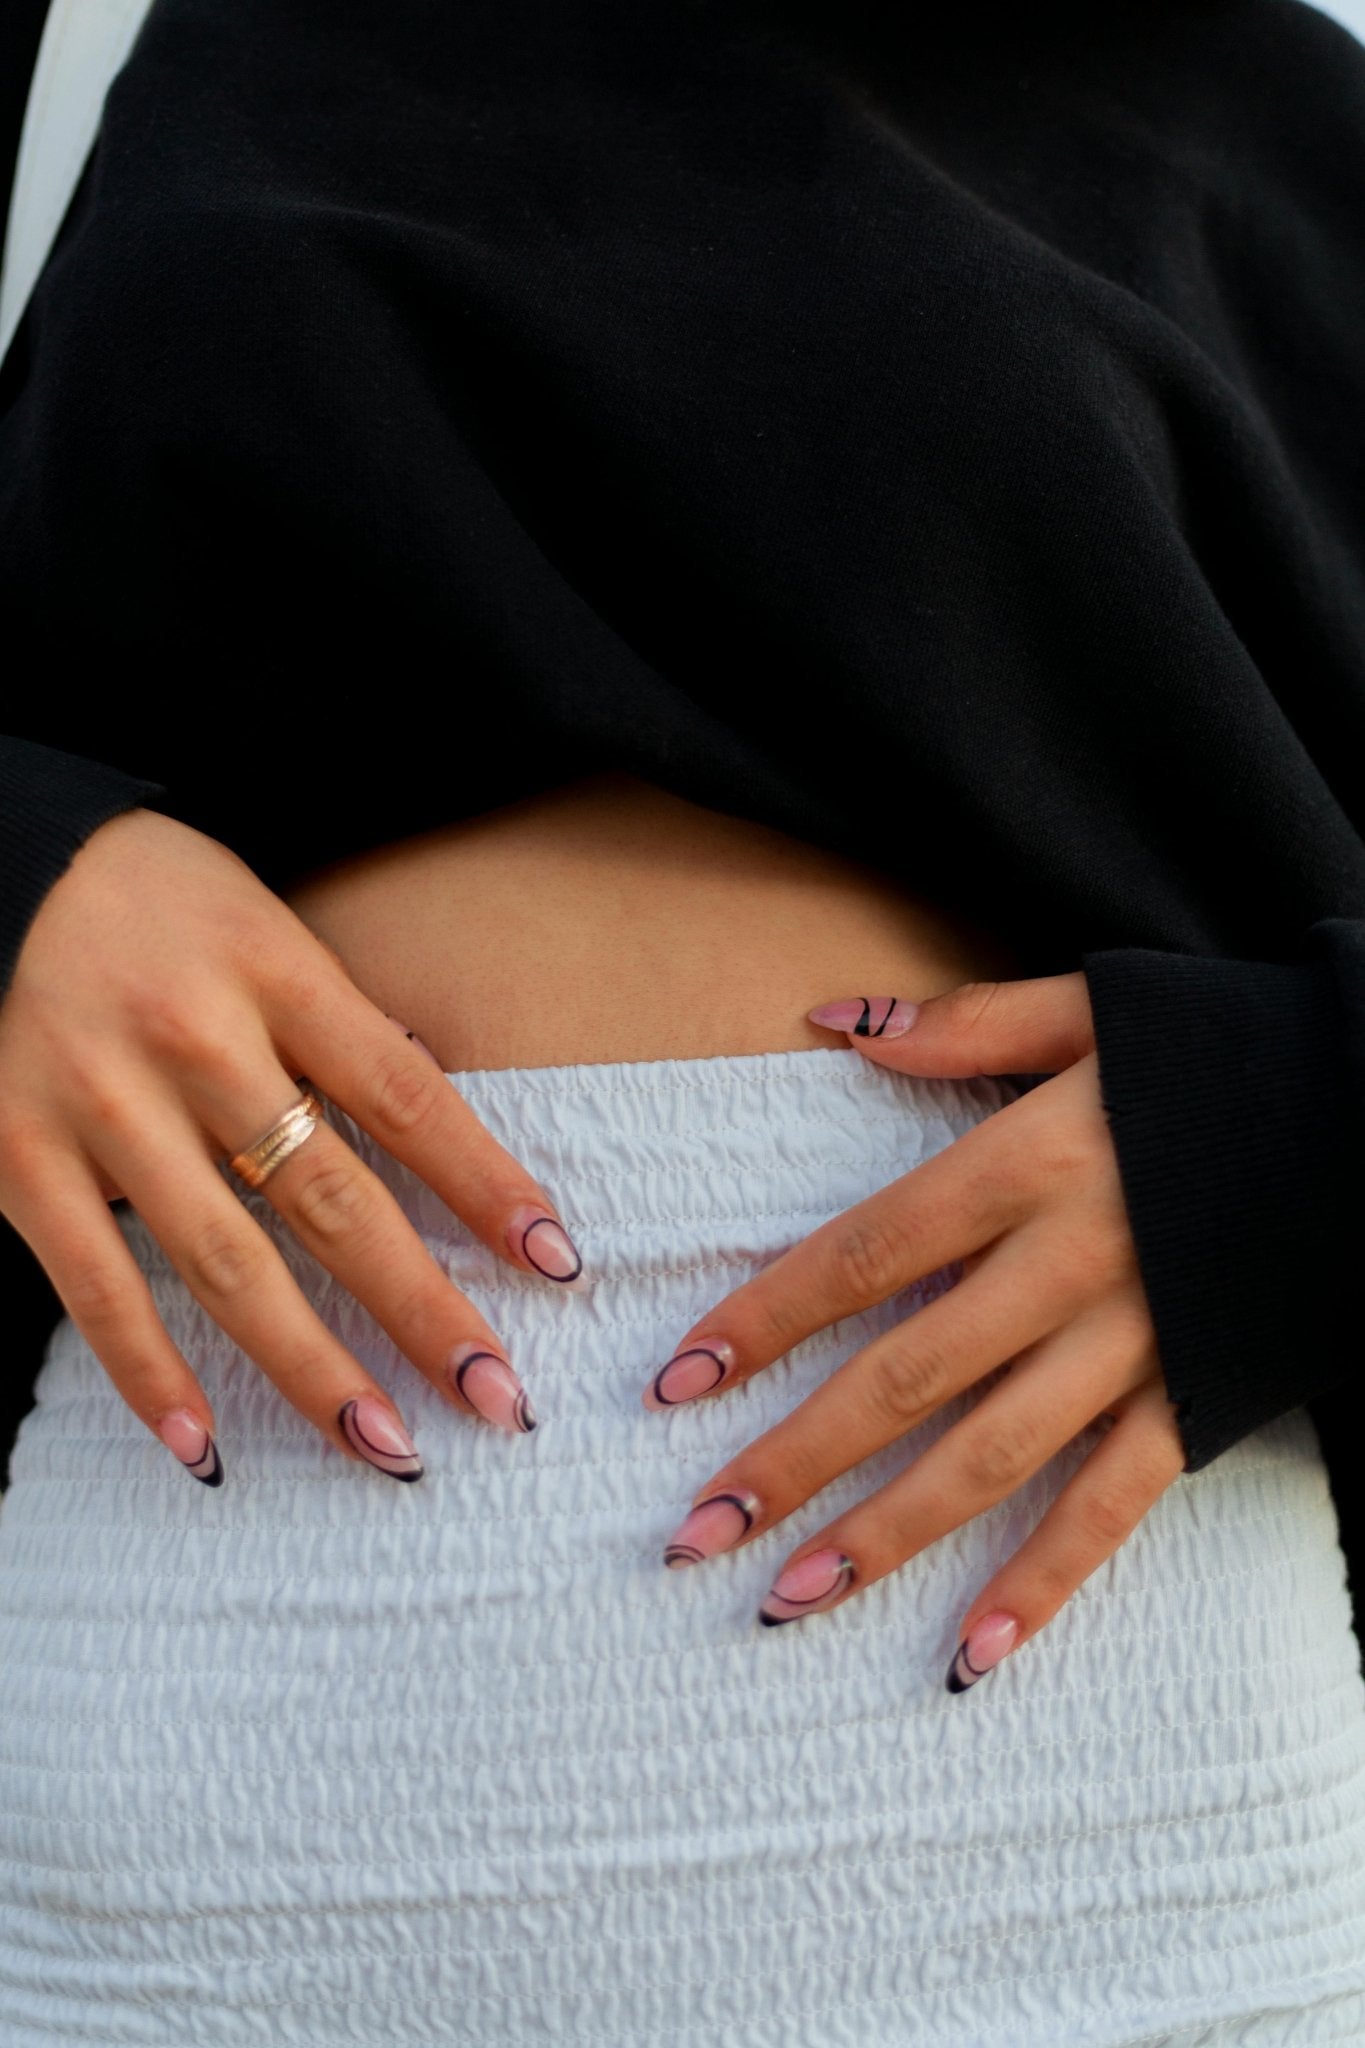
4. Negative Space Nails
Why It’s Easy
Negative space nails involve leaving parts of your nail unpainted, creating a stylish, contemporary vibe. It requires fewer brush strokes, making it great for beginners.
What You’ll Need
- Clear or sheer base coat
- One or two gel colours of choice
- Striping tape or stickers (optional)
- Top coat
How to Do It
-
Base Prep
- Clean and shape nails, then apply a clear or sheer base coat
-
Map Out the Design
- Use tape or stickers to section off parts of the nail you want to keep bare. Or freehand a curve near the cuticle area for a chic look.
-
Fill in Colour
- Paint the exposed area with your chosen polish. Carefully remove the tape or sticker
-
Seal with Top Coat
- Apply a final layer of top coat

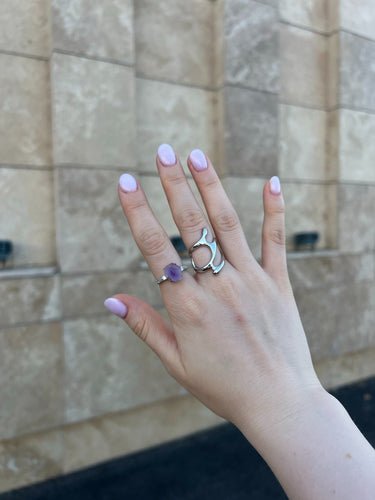
5. Simple Ombre/Gradient
Why It’s Easy
Ombre nails offer a soft, blended effect that looks advanced but is surprisingly straightforward using a makeup sponge.
What You’ll Need
- Base coat
- Two complementary gel nail polish colours
- Makeup sponge
- Top coat
How to Do It
-
Base Colour
- Paint your nails with the lighter shade
-
Sponge the Gradient
- On a palette or foil, paint two stripes of polish (both colours) side by side, slightly overlapping.
- Dab the makeup sponge onto the blended area and gently press it onto your nails. Repeat for deeper intensity.
-
Clean & Seal
- Finish with a top coat to smooth the gradient and add shine.

Final Tips for Nail Art Success
-
Patience Pays Off
- Take your time with each step of the nail art process to ensure best results
-
Focus on Quality
- Applying a base coat and top coat extend the life of your design, preventing chips and enhancing shine.
-
Practice Makes Perfect
- Don’t worry if your first attempts aren’t flawless. Nail art is all about trial and error—have fun experimenting!
-
Self-Care Boost
- Taking the time to do your nails can be a fantastic way to unwind and indulge in a bit of creativity.

Ready to Get Started?
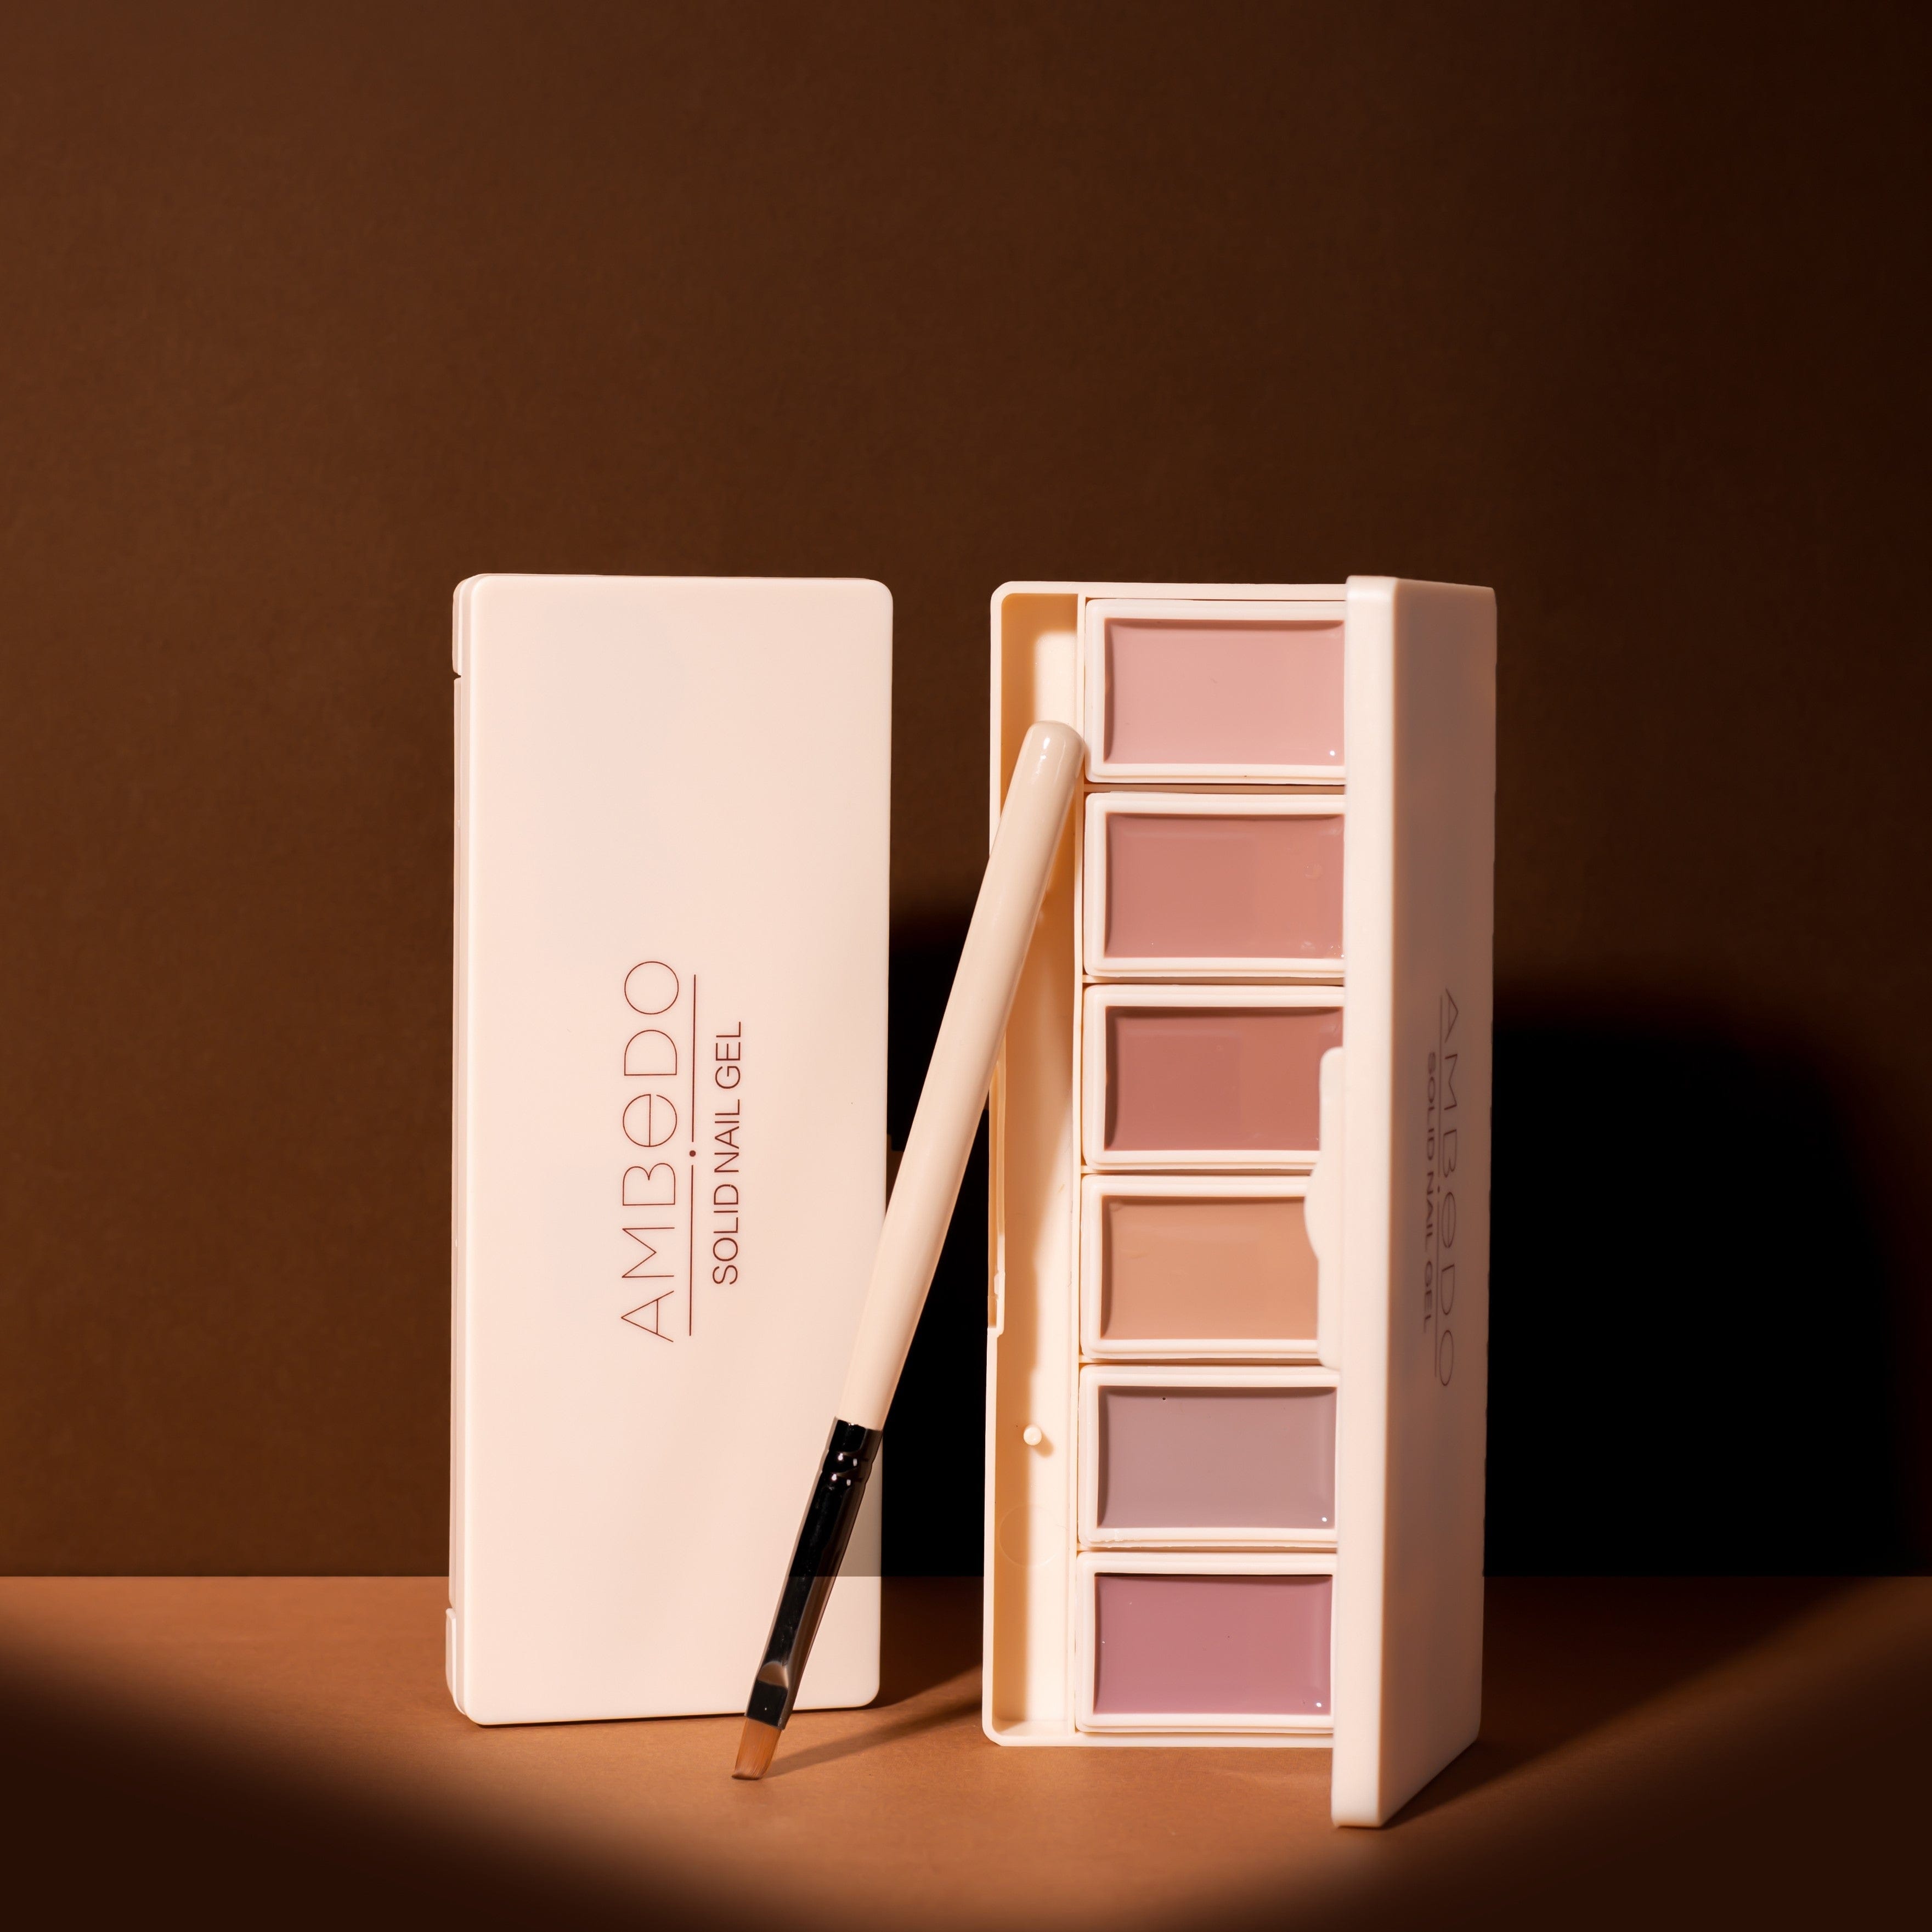
Dive into these beginner-friendly nail art trends with the easy to use, mess-free solid nail gel palettes from ambedobeauty.com. With just a bit of practice and patience, you’ll be creating salon-quality manicures that wow your friends—and you’ll discover how rewarding a DIY nail art session can be for both your style and your mood. Happy painting!

Leave a comment
This site is protected by hCaptcha and the hCaptcha Privacy Policy and Terms of Service apply.